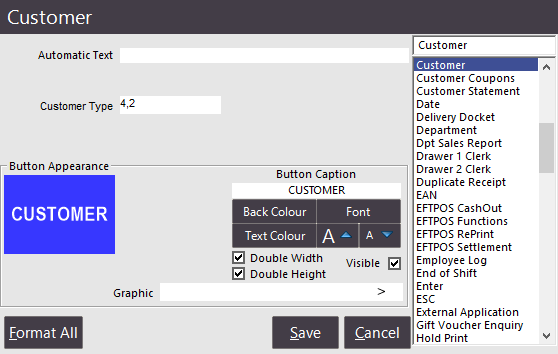
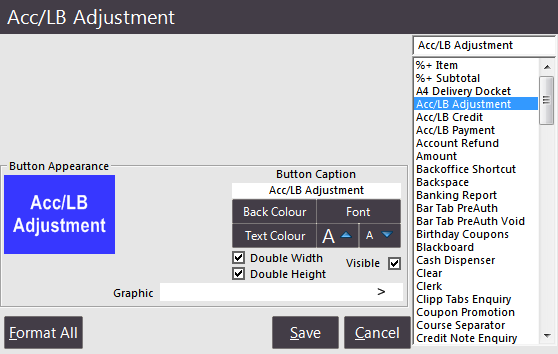
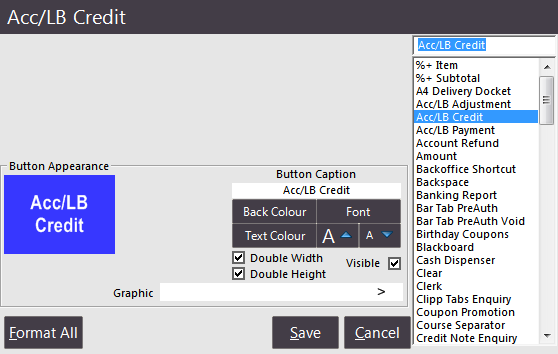
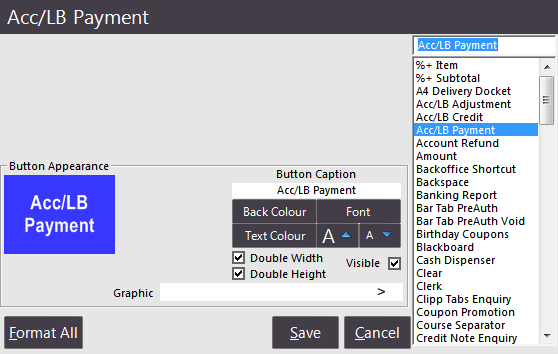
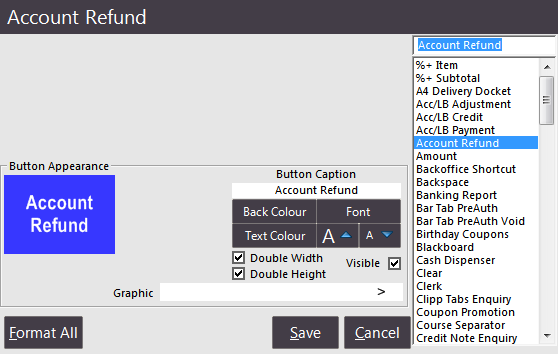
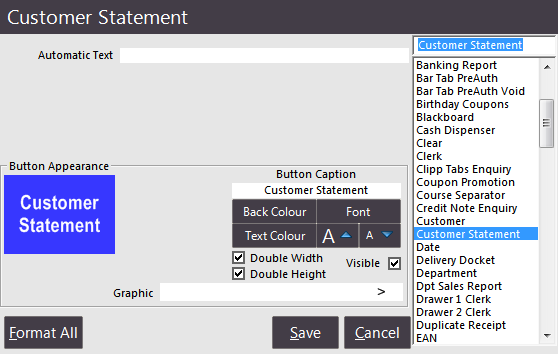
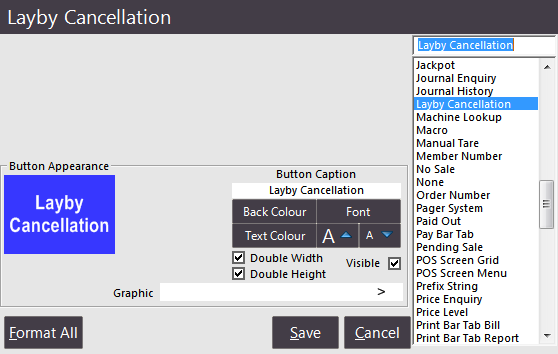
Creating a Customer button will allow to quickly access the Customer List from the POS Screen to Add, Modify, Delete, Select for a Sale, or make Payments or Adjustments.
The Customer button can be linked to a Customer Type if you wish to have a separate button for each Customer Type in your database.
Enter the corresponding Customer Type Number is this field to activate it on the button.
The customer button can also be used to only show a range of Customer Types such as 1-2,4-6.
This can be especially useful if you want to disable a specific type from being selected, and can help to make Fast Customer Searching work better.
When adding Customers after pressing the Customer button on the POS Screen, they will be added by default to the Customer Type that has been selected on the button.
If the Customer button has a range of Customer Types entered, the customer will be added to the first Customer Type entered in that field.
If the Customer Types entered are numbers 2,4, Customer Type 2 will be used.
If the types are entered as 4,2, Customer Type 4 will be used.
